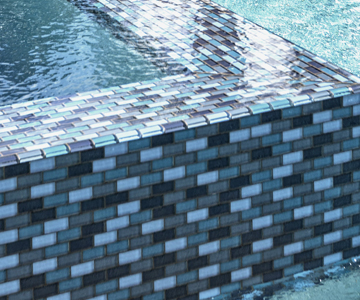
Tile Installation Tips
1. Carefully plan and dry-fit your work prior to starting, making sure to orient patterned tiles properly.

Have appropriate tools and supplies ready, such as the following:
- Caulking gun
- Novagard Adhesive
- Novagard Grout
- Grout scrubbers
- Utility knife
- Paper towels
- Liquid dish soap
- Measuring and marking tools
- Solvent (xylene or mineral spirits)
- Safety glasses and gloves
- Small bowl or pail
- Smooth finishing sponges
- Wide masking tape
NOTE: Check printing at the base of the Novagard cartridge to confirm products are within the 1 year shelf-life and are desired color. Novagard Lot Numbers are coded in the following way:
Lot# 23012587
1st + 2nd Digit (23) = Year
3rd + 4th Digits (01) = Month
5th + 6th Digits (25) = Day
7th + 8th Digits (87) = Batch Sequence Number
2. Proper surface preparation is essential. Prepare, clean, and dry surfaces in the same manner you would do if painting.
- For pool applications, the tile line is usually dictated by the skimmer, ½ below the water line and ½ above the water line.
- For pool applications, draw a line around the pool to make sure all sides of the pool are leveled.
- Using wide masking tape may be beneficial to mask the surface near the upper and lower edges of the area planning to be tiled for cleaning purposes.
- Although Novagard Adhesive can be applied in temperatures from 0°F to 120°F if necessary, these products cure by reacting with moisture from the air, so it is important to note that the working times and cure times can vary greatly depending on temperature and humidity conditions.
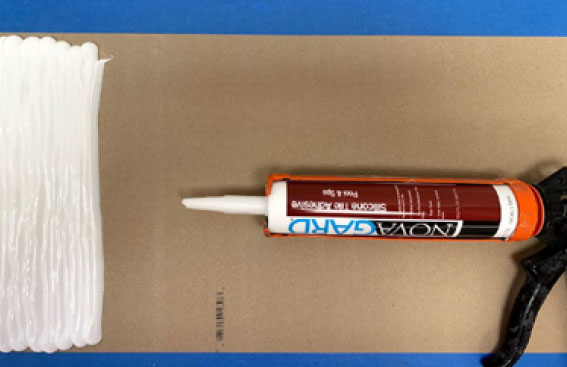
3. Apply Novagard Adhesive uniformly to a 1' to 3' length of tiles or the prepared surface.
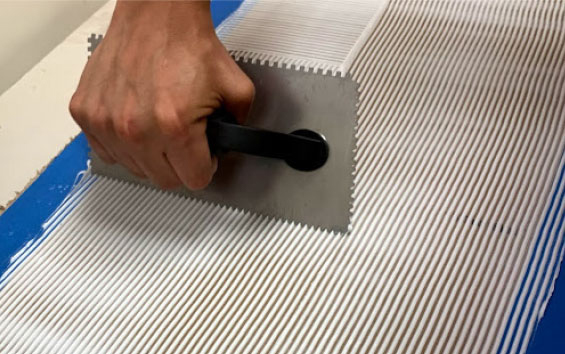
- Ensure complete and uniform coverage, preferably with a notched trowel (be careful not to scratch gelcoat surface) or other means such as a flooring 3 adhesive spreader. Ensure there is 100% adhesive coverage to prevent voids where water can penetrate and promote mold growth.
- The adhesive cures quickly, so work with small areas so tiles can be placed within 2-3 minutes, to ensure the adhesive does not skin over before placement. Quickly remove any excess squeeze-out from between and around tiles, wiping off any adhesive from tile surface before it cures using paper towels and solvents.
NOTE: If using small tiles, apply silicone to the prepared surface. On larger tiles such as 6″ x 6″ tiles, apply silicone to the tile surface.
4. The adhesive cures quickly, so work with small areas so tiles can be placed within 2-3 minutes, to ensure the adhesive does not skin over before placement.
- To ensure the adhesive does not skin over before placement, quickly remove any excess squeeze-out from between and around tiles, wiping off any adhesive from tile surface before it cures using paper towels and solvents.
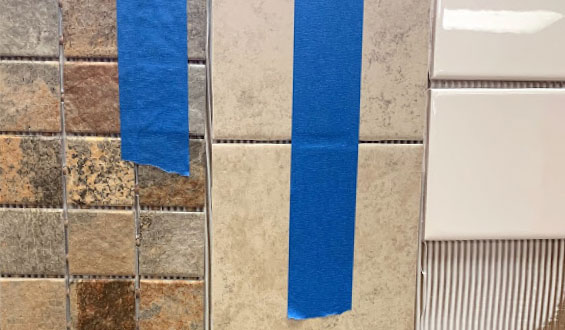
- The adhesive is formulated to help reduce tile slippage, but taping or using a temporary “ledge” may be useful to prevent heavier tiles on a vertical from slipping off line during cure.
NOTE: Allow at least 30 minutes or more for adhesive to cure enough that tiles are firmly in place.
5. Novagard Silicone Grout: Applying, smoothing, and cleaning excess
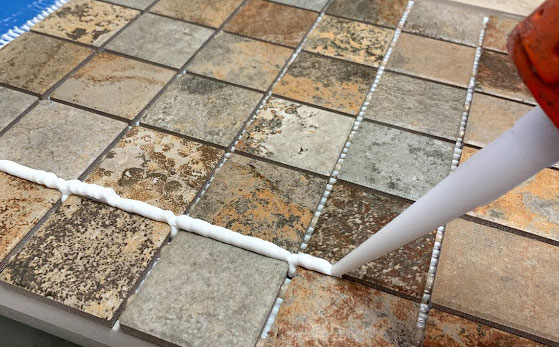
Again, working in short areas (that can be finished within 10-15 minutes), apply NovaFlex Tub Surround Sealant & Tile Grout to the grout lines and use a smooth rubber float to press the grout completely into the tile joints.
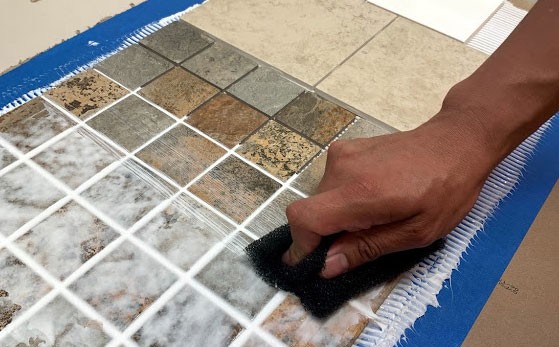
Quickly begin smoothing and cleaning off excess grout using non-woven scrub pads and/or sponges saturated with liquid dish soap. Be careful not to get the soap on the tiles ahead that have not yet been grouted.
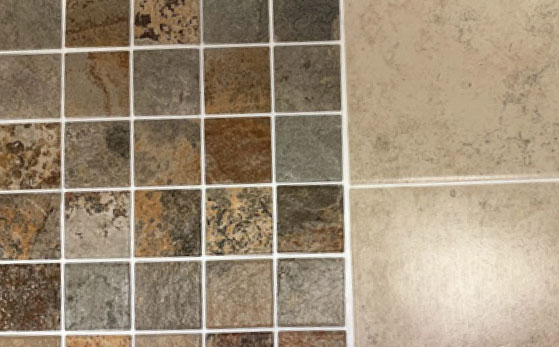
Continue smoothing the grout lines and COMPLETELY cleaning off excess grout and haze from the tile surfaces, as it is impossible to remove after the silicone grout cures. Rinse soapy residue. A final gentle wipe with paper towel and solvent may help.
NOTE: Allow 24-48 hours before placing into service. Working times and cure times are very dependent on humidity and temperature.
Important Information
- If you have not used Novagard adhesive and grout silicones, practice on a separate area before using on the job site.
- Fiberglass pools require silicone adhesives and grouts for flexibility.
- Factory pools recess area for tile.
- Do not use tiles smaller than 2″ x 2″ below the water line.
- Heavy tiles must be taped for vertical applications.
- Ensure there is 100% adhesive coverage to prevent voids where water can penetrate to cause adhesion failure and promote mold growth.
- Silicone is not designed to adhere to cementitious surfaces for a long term.
- Not recommended for concrete bullnose applications (consider NovaFlex Joint Sealant for these applications).
- Excess grout must be immediately cleaned after each application.
